Friday, February 17, 2012

Modding/Upgrading Marantz CD50 - part 5

Other mods to this player:
part 1
part 2
part 3
part 4
part 5 (this paper)


Almost a year since my last mods to this Marantz player, yesterday I came up with new ideas about it.

Here's what I decided to do and deep listening test after every mod step by step I confirm here only those that really do change the sound to a even higher level than before.

1) I removed the crappy Nichicon Muse 22uf output capacitors and put perfect Ampohm 4.7uf Polypropillene capacitors directly to the output RCA sockets.
Here you can use every PIO (Paper In Oil), polypropillene, styroflex capacitor with value between 1uf and 10uf.
Please do not use old russian ship container like caps or the small ceramic caps.

2) I had some Blackgates 100uf-470uf/25V and put them everywhere - around DAC, around digital chip, around opamps. They make the best sound for opamps in matter of not distorting the signal in any way. I've tried Nichicon Muse, Elna Silmic II, etc. but they all put some of their taste to the sound and I do not like that. I wanted pure, flat, without distortions capacitors and these are only Blackgates.

3) Variable output board was removed. It uses the +/-15V from the power supply which are used by the TDA1541A DAC and opamps, so this step will relieve a little bit the PSU.

4) For opamps I decided to switch to LM4562HA. They are really good!

5) Before the main 7805 regular in the PSU I decided to put in ~20000uf capacitance.
The rule of thumb says that if you drawn 1A of current you need at least 20000uf capacitance so you can filter perfectly the 50Hz/60Hz noise from the main line.
Here we do not have such currents, although I decided to put 7 x 3000uf caps in parallel forming 21000uf multicap

6) All diodes was change to schottky ones. Schottky are smoother. You have to change all diodes in the played so you can hear a real difference. Changing only one rectifier won't have any effect you can hear.

7) After all regulators (7805, 7806, 7815, 7915) I put 2x the original capacitance tantalum capacitors (yellow ones on the pictures below)

8) I removed all small 100nf ceramic SMD capacitors on TDA1541A's decoupling pins and then I put 0.47uf WIMA. You really have to remove the SMDs first! Believe me!

9) Have you read about DEM clock for TDA1541A? It's time! You should read THIS PDF.
After that just change the capacitor between 16th and 17th pins for 120pf/1% tolerance one and you will be amazed.

Here are some photos during these interventions.


Multicap bank of 7 x 3000uf/16V put before the main 7805 regulator.


0.47uf Wima caps on the 14 decoupling pins of TDA1541A. You see the little blue cap of 120pf for DEM lock.

Upgraded capacitance to 6600uf before 7815 regulator.

View of the whole player with clock, main line AC RFI filter, all Blackgates, big 21000uf caps bank, etc.

The great output Ampohm 4.7uf capacitors.

Some Blackgates.

More Blackgates for the digital filter chip.

Main capacitor bank installed in the player.


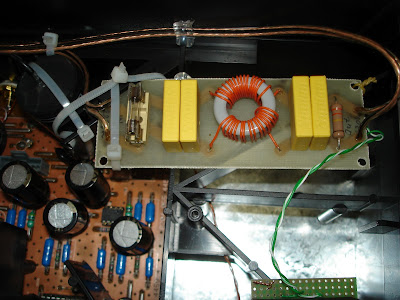
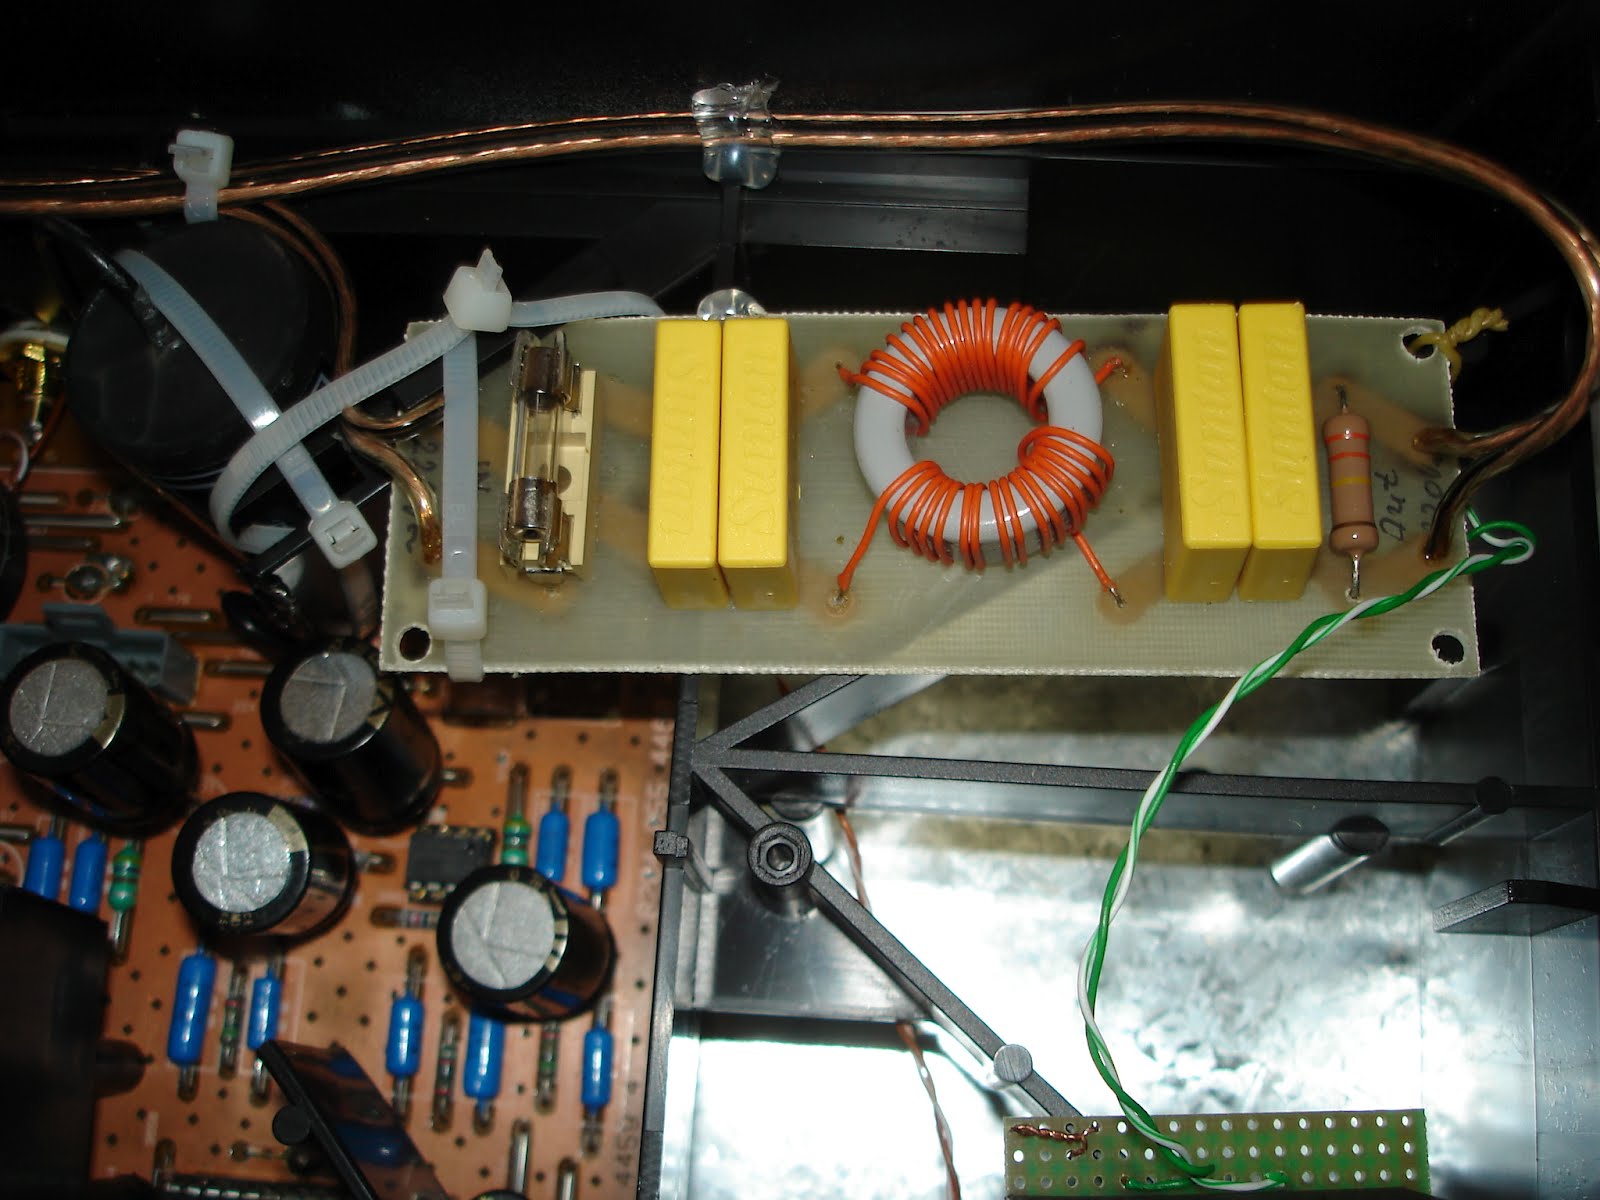
AC RFI filter. Very, very important! And costs only 8EUR.


That's it for now!
I am very pleased with my last upgrades to this player.


What's comming:

* +/-15V PSU low noise, low impendace for DAC and opamps
I will try one of these:


*) Please, do not bother saying that it looks awful. I know. It's a test player for different type of mods, so I do not care for the look. I just want to hear if something is worth the effort applying in my primary player and/or some player of a friend.

Sunday, December 11, 2011

Shure V15 Type III - Wonderful Turntable Cartridge

Today I received my "new" Shure V15 Type III cartridge for my Lenco L75 turntable.


After inspecting the stylus (it's hiperelliptical! A perfect diamont shape for great analogue sound) I saw minor traces of wear.
I went for careful cleaning the tip because after a dozen of hours listening it usually gets carbon deposits from the dust in the records' grooves.

And ... miracle! The tip now looks very, very good ... near perfect!


Shure cartridge mounted on the Linn Basic LV V tonearm


Shure V15 Type III in all it's glory!


If you wonder what should be the next cartridge you have to try on your turntable - go for Shure V15 Type III!
Its fantactic sound deserves every penny.

Enjoy!

Saturday, December 10, 2011

Open Baffle Speakers - Finished!


In May 2011 I wrote that I am going to build my first Open Baffle Speakers with Saba drivers.

Now six months later I have finished my first speakers' project and I am very very glad.

I choose the Open Baffle design for it's simplicity but added a bass extender. It works great!
Cross over is very very simple and effective. Here's the schema:


Left speaker


Right speaker


Open Baffle in its glory!


Speaker's body after painting and polishing


Back side after wiring speakers and crossover


Bi-wiring to the amplifier


My final decision: the best speakers I have ever had under 500EUR!

They sound like new 3000EUR Jamo and maybe better clarity.

Yes. That's right! :)

Tuesday, November 01, 2011

How to combine Munin and TEMPer (USB Temperature Sensor) ? (part 2 - November 2011)

Last year I posted an article about combining TEMPer and Munin.

A month ago I decided to add a second TEMPer to my configuration so I can keep track of the outside temperature during the winter since I have moved the server outside on the terrace in a special box.

The idea was that this server can keep a normal working temperature by itself in a small box isolated with wooden walls from the outside weather during the winter ( down to -15 C outside temp ) and with an open box's ceiling in the summer ( up to 35 C outside temp ).


(inside view of server's box)

(server's box closed and ready for a snowy winter)

Unfortunately the new TEMPer is using a new chipset which does not work with my Perl drivers and scripts.
After some research I found this C program pcsensor-0.0.1-patched.tar.gz which reads the temperature correctly from the new device.
Here are short steps and updated scripts so you can run the old TEMPer and the new one at the same time.

1) wget -O pcsensor-0.0.1.zip http://www.svilen.com/pcsensor-0.0.1-patched.tar.gz
2) tar zxvf pcsensor-0.0.1-patched.tar.gz
3) cd pcsensor-0.0.1-patched
4) sudo apt-get install libusb-dev
5) make clean
6) make
7) sudo mv pcsensor /usr/bin/
8) sudo mv 99-tempsensor.rules /etc/udev/rules.d/99-tempsensor_new.rules

or create file: /etc/udev/rules.d/99-tempsensor_new.rules
with this line inside:
SUBSYSTEMS=="usb", ACTION=="add", ATTRS{idVendor}=="0c45", ATTRS{idProduct}=="7401", MODE="666"

9) sudo /etc/init.d/udev restart

It's time to change Munin's script so that it can show readings from both TEMPers.

10) sudo wget -O /usr/share/munin/plugins/sensors_ http://www.svilen.com/sensors_new_.txt
11) service munin-node stop
12) service munin-node start

Within minutes you should see readings from both sensors in your Munin.


Enjoy!

Friday, May 06, 2011

Open Baffle Speakers

Two months ago I decided it was time to build my own speakers to replace my KEF Cresta 3 speakers in my bedroom.


I made a reseach on how to build my speakers, what kind, shape they have to be and I got onto Open Baffle design.
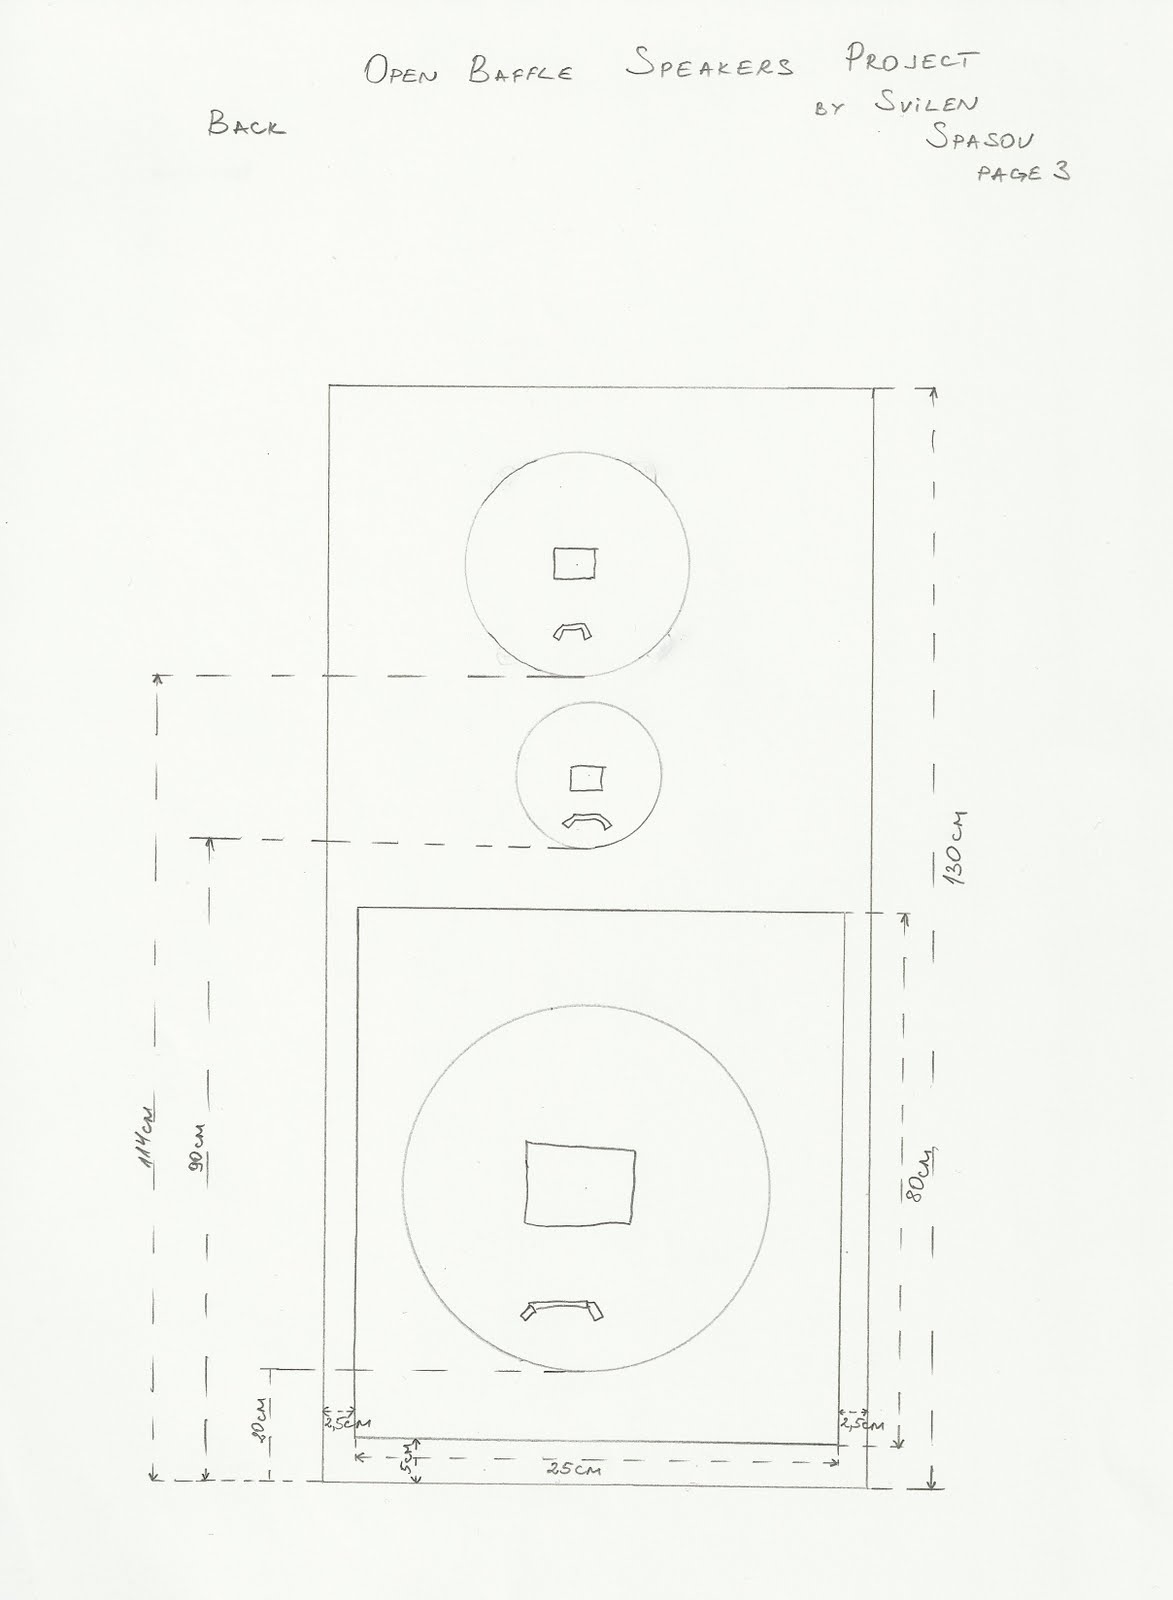
So I started doing some rough calculations and measures at the places I will want to put my new speakers and below is a sketch of my upcoming speakers I am building right now!

Front Panel/Baffle


Side View


Back Baffle


I forgot to mention that I already knew which drivers I will use and my design had taken in account their size.

So I will use the lovely paper SABA Speakers from 50-ties!
Yes, that right 50 year old speaker drivers with paper membrane are one of the best for all times and the best in its price range for sure! (around 100EUR for a pairs of tweeters and midrange and 100EUR for bass pair)

Look at them. Aren't they are georgeous?


Now it's time to do the carpentry.

I will keep you posted.

Thursday, March 31, 2011

Modding/Upgrading Marantz CD50 - part 4

Other mods to this player:
part 1
part 2
part 3
part 4 (this paper)
part 5

My final ideia for this player was a custom dedicated power supply regulators for the 2 most vital receiver chips - SAA7310 and SAA7220P/B.
I decided to use the upmarket version of 78xx regulator - LM2940CT-5, which is not so much noisy as the 78xx family and is easy to deploy on a PCB.

Here is the schema I used for the PSU regulators. One this I should notice is that you should use tantalum caps or premium grade ones, low ESR.
For the 2200uF I have got 2 x Elna Starget which are low ESR caps and good for audio.
1uF cap is Kemet tantalum - very fast capacitor! and with low ESR again
the 220uF caps are again Kemet tantalum but old stock in big corpus
and of course close to the chip we have 330uF Sanyo Oscon SEPC (this one is on the PCB of the player).

You might wonder why there is a 1R resistor in series. That was taken from the original Marantz design. It forms a Low Pass Filter with the Sanyo cap thus eliminating a low of the noise from the stock 7805 regulator at the cost of resistance.
That's okay in my opinion for this class of CD player. So I kept the resistors because the sound was better also checked by ears.

*) download power supply schema


Power regulators' board which will be installed in the cd player


Power regulators' board back


New power board installed (bottom view)


Stealing points for power line of the power reg board


Closer look to new power regulation board


Power connection for SAA7220P/B chip on 24 pin leg


Power connection for SAA7310 chip on 28 pin leg

And ... that's it! I am done with this marvellous cd player!
It has everything that can be upgraded and sings like a pure natural reality.

I hope these articles will be useful to someone and if you have questions please leave me a comment below.